
Long Exposure UV Camera - [02]
Starting to make my own camera
ART
6/17/20242 min read
So, we left off with my initial testing with false-color UV photography, creating a semi-successful image over 3 days of exposure. My immediate thought was that I did not have the patience for this extremely long exposure. I can respect an art form being informed by its intentionality on time spent, but this was not the project for that. I needed a faster iteration loop.
What I landed on was one of two areas for optimization.
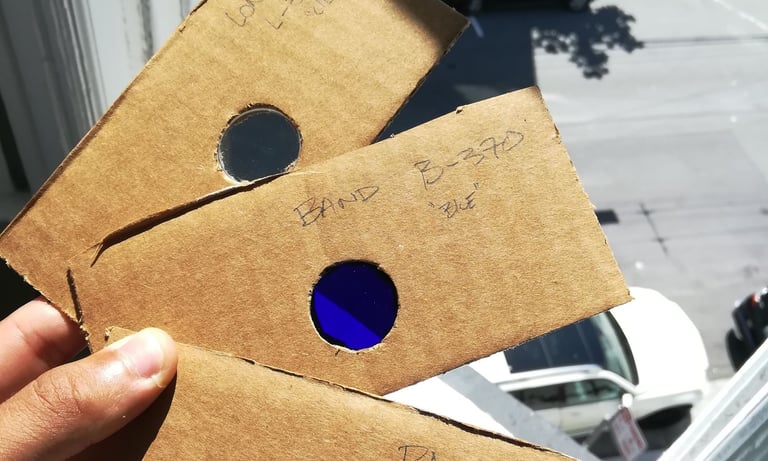
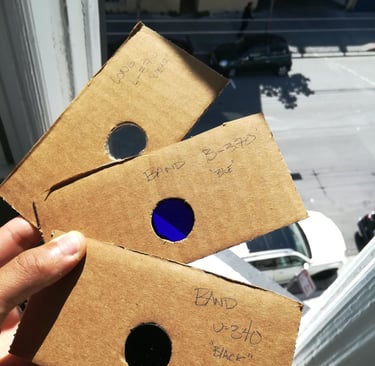
Aperture size: the aperture of the 4xg, while large for a standard camera, could potentially be bigger.
Material: the glass in the lens is likely absorbing some of the UV light as it passes through it
note: at this point, and to this day, I am no expert in optics, or camera design. so these were my pretty naive first thoughts
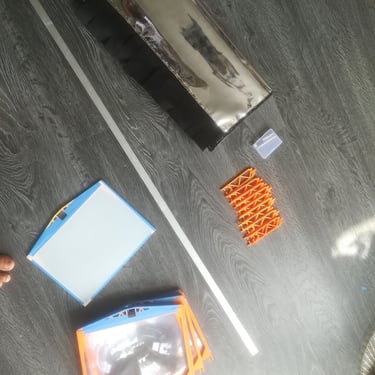
So, the clear solution to this? Make your own camera of course! After doing some cursory research, I thought it made the most sense to just make an initial prototype. My lenses of choice were some very cheap but massive fresnel lenses. I also needed a means of actually constructing the thing, and I wasn't going to make it out of wood (something this small and fiddly requires more precision that I have on hand), so i bought a 3d printer. At this point all notions of this being a cheaper alternative to regular B&W Photography have gone out of the window, so why not go big.
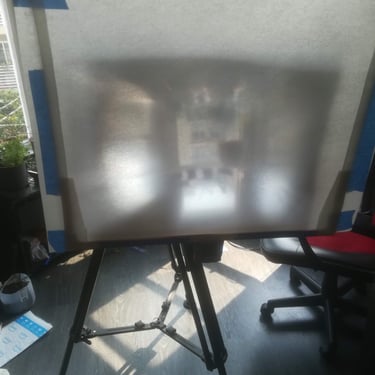
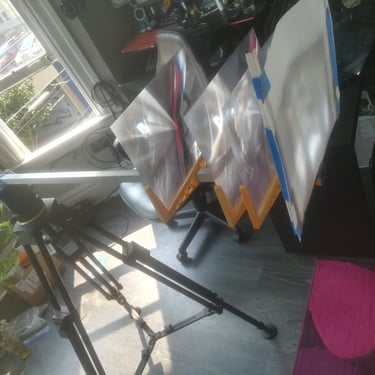
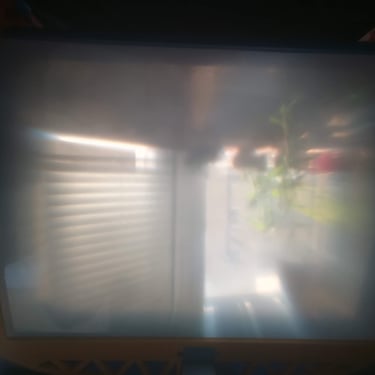
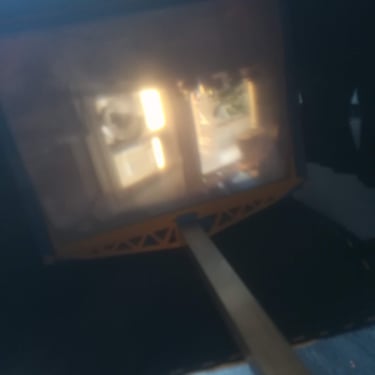
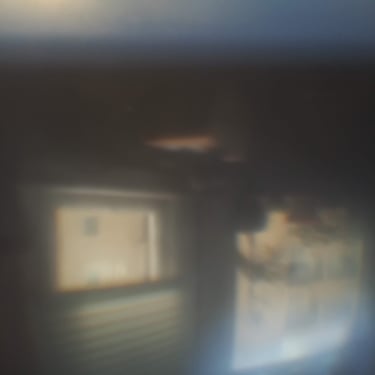
You'll have to forgive the mess and the bad image quality (cheap cell-phone), but this barebones worked wonders for improving my understanding of the system on the whole. I wasnt aware of any optical design tools at the time, so I was playing around with various combinations of multiple lenses, and got some images to form. After a few design iterations I was left with what ill call V0 below.
Adjusting the Focus
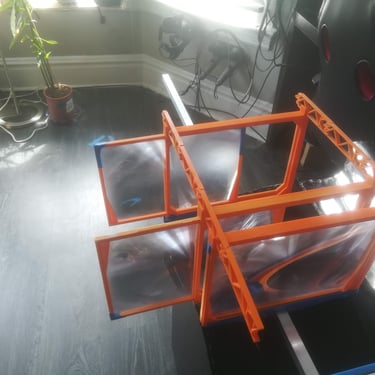
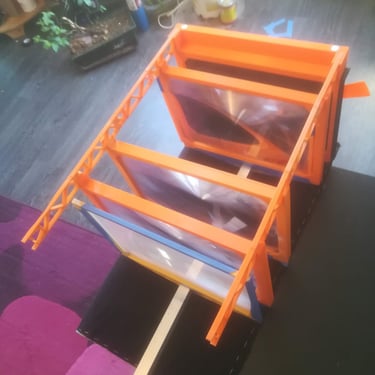
Camera v_0.0
This setup was improved in a few important ways:
"light-proof" cover to avoid external light reducing image quality (what little quality there was)
removable lens stages for easier testing (initial prototype required lenses to be fully slid off to be removed)
better image screen with plastic instead of tracing paper.
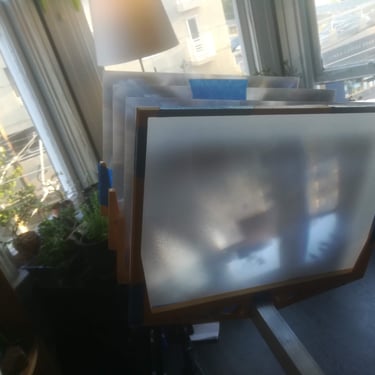
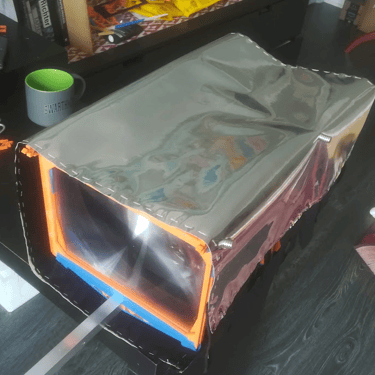
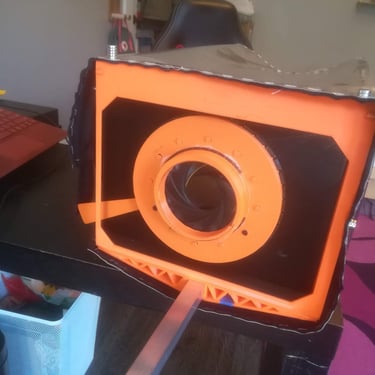
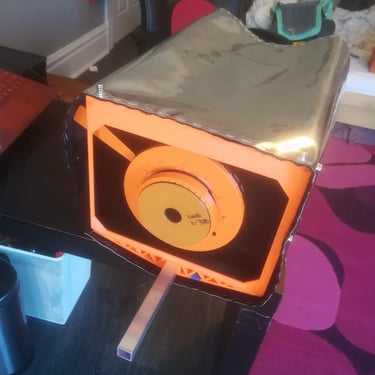
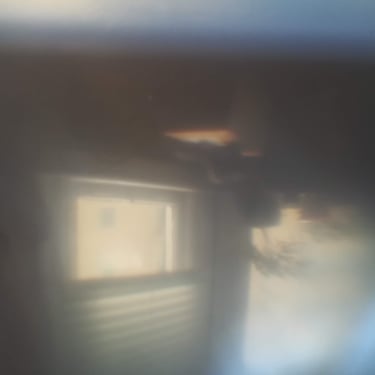
Again, an improvement, but very far from a "good" camera. We're getting close to "artistic liberty" territory at this point which is good. The glaring problem with this setup though is that there's no place to put any film, and there's no aperture. so the next iteration set off to address that. I found some relatively easy to assemble designs for an aperture from thingiverse (cant seem to find the original page unfortunately) after fighting the urge to design an aperture myself, and attached that as a front stage. As far as a place to put the film, tape was my friend.
Camera v_0.1
Results
So, what did all of this lead up to!? some fuzzy looking brown negatives.
Unfortunately, I dont have any scans/negatives from the camera at this point around, probably becase none of the tests were really producing anything of note. I do promise that there are some to come...